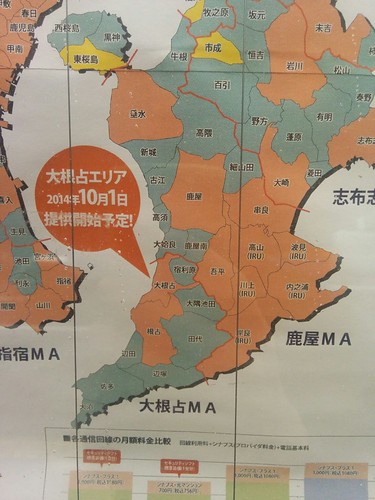
このポスターを見てがっかりしたのが4年前
2018年10月29日に鹿児島県肝属郡錦江町の宿利原地区に光回線が通るってことで住民説明会が.
自分の住んでいる地区じゃないけど覗いてきた.
参加者は4,5人.
ホスト側は11,2人くらい.
参加者は20人位を見込んでいたようで寂しい感じに.
(多分)役場の人の司会で始まる.
今回の回線は町で2/3負担しているらしい(4年前の大根占地区での提供開始時は町は関与しておらず負担もなし).
#以前問い合わせたときにはNTTでは採算が取れないので提供予定なし.町は負担予定なしとか言われたけど情勢が変わったよう.
NTT西日本の人の説明からはじまる.
11月01日から検索に出てくるようになるとのことでそこで検索して圏内かどうか確認できるとのこと.
多分このページ.
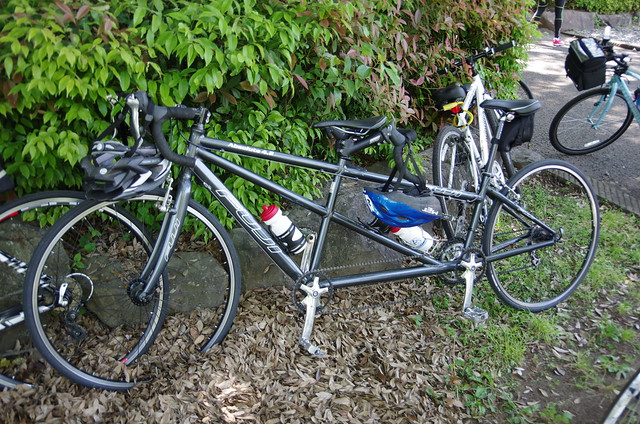
シナプスの人は会場の宿利原地区の大根櫓(今年もそろそろライトアップの時期?)の写真を使ったスライドで発表.
電話サポートは鹿児島弁でも通じるとか,電話が通じない場合は留守番電話にメッセージを残せて折り返しかけてくれるとかは良さそう.
Syapseパートナーの神川の鹿児島ITコンサルティングの紹介も.
電話番号は紹介するけどWEBは?てなった.
検索したら出てきた.
最後にドコモの人だったけどドコモショップ鹿屋寿の人も連れてきていたようで一番人多かった.
携帯電話とセットだと割引あるよとか,PC操作もスマホ操作もインターネットも同じ窓口で一律問い合わせ可能とか(Windows/mac以外のPC OS問い合わせたらどうなるんだろう?).
後はインターネット便利で楽しいよを伝えたいんだろうなな感じだった.
(発表中みんな立っててうn?てなった)
終わってから役場の人に聞いてみたら自分の住んでいる地区も来年同じような形で光回線引かれるかもだそう(町内で最後).
引かれるといいな…….
(逆に来年までは引かれることはないんだろうなという……)
しかし一般的なISP料金高いんですね.現在はdixでADSL 780円/月でそこだと980円/月だけど紹介されたのは4000円以上/月だった.