最近Mailmanにbotからであろう登録が沢山やってくるようになりました.登録メールアドレスは大抵メジャーなフリーメールアドレスで生きているようなのですが,quotaや転送量のエラーとなって帰ってきます.これらのエラーメールでメールボックスがあふれて辛いです.
Mailmanにcaptchaか何かを設置できるプラグインとか無いかなと探してみたのですが,公式ではないようです.sourceを修正してGoogleのReCaptchaを実装している人は居ますが,バージョンアップのたびにパッチするのは面倒です.最近もセキュリティホールが見つかっていますし放置するわけにも生きません.
該当メールを見ると幸いメールアドレスは使い回しでバリエーションは多くありません.とりあえずMailmanのban_listにこれらのメールアドレスを登録してmailqに溜まっている該当メールはdropしました.1週間くらいしたらリモートからのエラーメールも無くなって静かになると良いなと思っています.
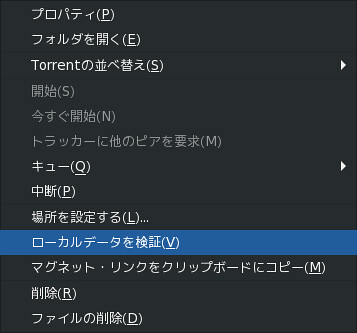
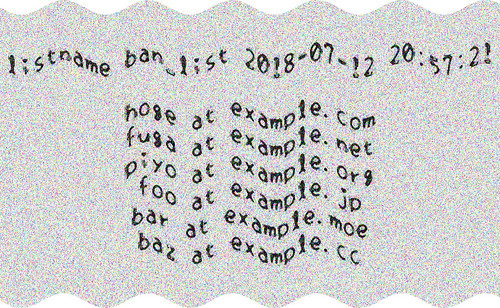
ban_listに登録しましたが,もしかしたらbotではなく普通に登録しようとしてメールボックスがあふれている人も居るかもしれません.それが解るようにban_listを申し込みページに表示することにしました.そのまま表示するのは良くない気がするので画像にしてノイズを散らして波型変形をかけてみました.
Mailmanのconfig_listコマンドで設定を出力してban_listをファイルに書き出し,Imagemagickのconvertコマンドでノイズと波型変形のフィルタをかけて画像を生成しました.
こんな感じの画像になります.これを申し込みページに説明と一緒に載せます.(ノイズのせいで容量が大きく……)
cronに登録しました.
$ sudo -u list crontab -l|grep ban_list39 * * * * /usr/lib/mailman/bin/config_list -c -o /dev/stdout users|grep ^ban_list |sed -e 's/^.*\[\|\]\|'\''\|'\ '//g'|sed -e 's/\@/ at /g'|tr -s ',' '\n' | sort -n > /var/lib/mailman/lists/users/ban_list && convert -size 1024x600 -background '#FFFFFF' -density 36 -gravity Center -fill black -font SetoFont label:"users ban_list `stat -c \%y /var/lib/mailman/lists/users/ban_list|cut -f1 -d.`\n\n`cat /var/lib/mailman/lists/users/ban_list`" -attenuate 5 -noise 7 +noise Gaussian -wave 15x`expr \( 100 + $((RANDOM \% 100)) \)` /var/lib/mailman/archives/public/users/ban_list.jpg
……長いですね.それに画像サイズ固定なのでlistが増えると文字サイズが小さくなってしまいます.てことでscriptに.
#!/bin/shLISTNAME='users'FONT='SetoFont'BANLIST='/var/lib/mailman/lists/users/ban_list'IMAGE='/var/lib/mailman/archives/public/users/ban_list.jpg'# ban_listを抽出してファイルに書き出し/usr/lib/mailman/bin/config_list -c -o /dev/stdout ${LISTNAME} | grep ^ban_list | sed -e 's/^.*\[\|\]\|'\''\|'\ '//g' | sed -e 's/\@/ at /g' | tr -s ',' '\n' | sort -n > ${BANLIST}# ban_listの行数によって画像高さを計算BANWC=`wc -l ${BANLIST} | cut -d\ -f1`HIGHT=`expr \( ${BANWC} \* 60 + 120 \)`# 画像に書き出す文字列を作成LABEL="users ban_list `stat -c \%y ${BANLIST} | cut -f1 -d.`\n\n`cat ${BANLIST}`"# 波型変形の波の深さを計算WAVEX=`expr \( 10 + $((RANDOM % 10)) \)`WAVEY=`expr \( 100 + $((RANDOM % 100)) \)`# 画像作成convert -size 1024x${HIGHT} -background '#FFFFFF' -density 36 -gravity Center -fill black -font ${FONT} label:"${LABEL}" -attenuate 5 -noise 7 +noise Gaussian -wave ${WAVWX}x${WAVEY} ${IMAGE}
てことでとりあえずの対処療法ですが…….
環境
$ lsb_release -dDescription: Debian GNU/Linux 9.4 (stretch)$ uname -mx86_64$ dpkg-query -W mailmanmailman 1:2.1.23-1+deb9u2$ dpkg-query -W imagemagickimagemagick 8:6.9.7.4+dfsg-11+deb9u4