明日の 第3回鹿児島Node.jsの会 でXAMPP を使うってことで導入を試みました.何時もはpkg かsource からでXAMPP は使ったこと無いのです><
- 第3回鹿児島node.jsの会資料_内村
#そいやNiigata Linux ってこういうのが一通り揃ってるのが売りのディストリビューションがあったけど最近OSC Tokyo とかで見かけないような.
以下からXAMPP をもらってきます.
XAMPP | Free Development software downloads at SourceForge.net
今回は xampp-linux-x64-1.8.3-1-installer.run を以下からもらってきました.hash はファイル名の右の (i) マークを押すと確認できます.
– XAMPP – Browse /XAMPP Linux/1.8.3 at SourceForge.net
念の為hash を確認します.
% md5sum xampp-linux-x64-1.8.3-1-installer.run

4e464cec2b49da3e8c539511b0817478  xampp-linux-x64-1.8.3-1-installer.run

% sha1sum xampp-linux-x64-1.8.3-1-installer.run

2da87a7acb57bcac6156e702c619e102057308df  xampp-linux-x64-1.8.3-1-installer.run
そのまま実行する感じのようです.
% file xampp-linux-x64-1.8.3-1-installer.run

xampp-linux-x64-1.8.3-1-installer.run: ELF 64-bit LSB  executable, x86-64, version 1 (GNU/Linux), statically linked, stripped
% chmod +x ./xampp-linux-x64-1.8.3-1-installer.run

% ./xampp-linux-x64-1.8.3-1-installer.run --help

XAMPP 1.8.3-1

Usage:
--help Display the list of valid options
--version Display product information
--unattendedmodeui Unattended Mode UI
Default: none
Allowed: none minimal minimalWithDialogs
--optionfile Installation option file
Default:
--debuglevel Debug information level of verbosity
Default: 2
Allowed: 0 1 2 3 4
--mode Installation mode
Default: qt
Allowed: qt gtk xwindow text unattended
--debugtrace Debug filename
Default:
--enable-components Comma-separated list of components
Default: xampp_core_files,xampp_developer_files
Allowed: xampp_developer_files
--disable-components Comma-separated list of components
Default:
Allowed: xampp_developer_files
--installer-language Language selection
Default: en
Allowed: en ar bg ca da nl et fr fi de el es es_AR he hr hu it ja lt ko pl pt_BR pt ro ru no sl sk sq sv sr tr zh_TW zh_CN va cy cs th
--launchapps Learn more about BitNami for XAMPP
Default: 1
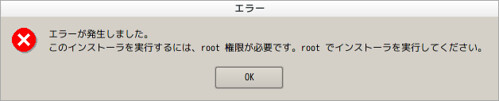
規定値で言語だけ買えてインストーラを起動します.一般ユーザで起動したら要root と言われました><

% sudo paco -p 'xampp-linux-x64-1.8.3-1' "./xampp-linux-x64-1.8.3-1-installer.run --installer-language ja"
もしpaco を使わない場合は以下のような感じでいいと思います.(未確認)
% sudo ./xampp-linux-x64-1.8.3-1-installer.run --installer-language ja
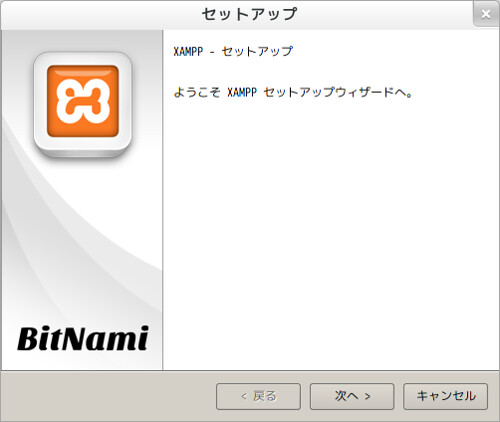
スプラッシュ表示後にインストーラが起動します.次へ.

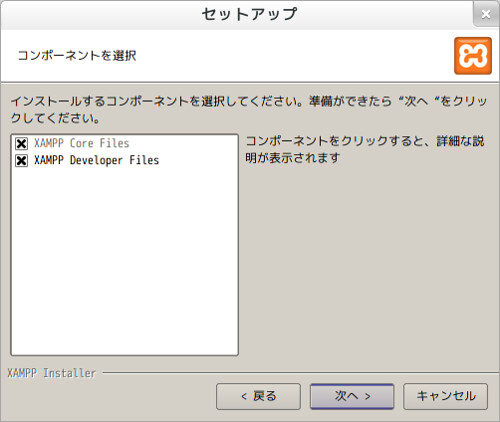
インストールコンポーネントの選択.規定値のまま次へ.
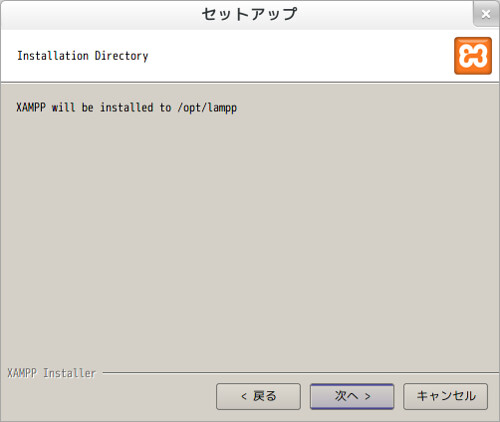
インストールディレクトリの確認.次へ.(–prefix も無いし変更方法は不明><)
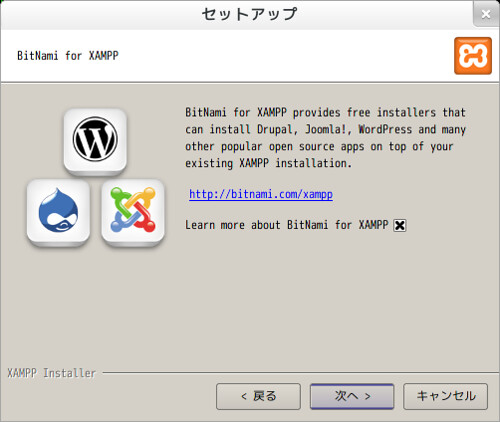
XAMPP 用のDrupal とかがDL 出来るページを表示するかい?て感じだと思います.このチェック着けたまま次へ押すとroot 権限でブラウザが起動してしまうのであまりよろしくない気がします.以下のURL が開かれるようなので,それかその下のシンプルなURL を開くと良いと思います.
http://bitnami.com/stack/xampp?utm_source=bitnami&utm_medium=installer&utm_campaign=XAMPP%2BInstaller
http://bitnami.com/stack/xampp
てことでチェック外して次へ.
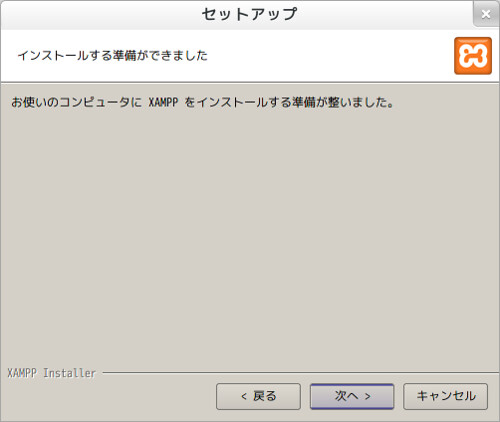
確認画面.次へ.
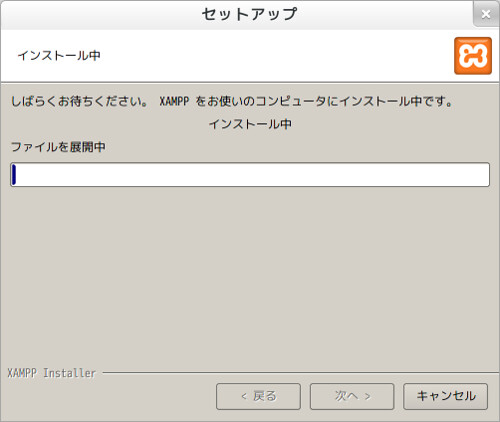
インストールが始まります.しばらく待ちます.
インストール完了画面.起動にチェックをつけると例に寄ってroot でブラウザが開いてしまうので着けないほうがいいかもしれません.
てことで
http://localhost/xampp/splash.php
辺りに繋ぐと起動確認できます.
http://localhost/xampp/index.php
辺りから色々出来ますが,初めこのページが開きませんでした.XAMPP をstop/start して解決しました.
(start してみたら以下のように中途半端に起動していたのが多分悪い)
% sudo /opt/lampp/lampp start

Starting XAMPP for Linux 1.8.3-1...

XAMPP: Starting Apache...already running.

XAMPP: Starting MySQL...ok.

XAMPP: Starting ProFTPD...ok.
XAMPP start
% sudo /opt/lampp/lampp start

Starting XAMPP for Linux 1.8.3-1...

XAMPP: Starting Apache...ok.

XAMPP: Starting MySQL...ok.

XAMPP: Starting ProFTPD...ok.
XAMPP stop
% sudo /opt/lampp/lampp stop

Stopping XAMPP for Linux 1.8.3-1...

XAMPP: Stopping Apache...ok.

XAMPP: Stopping MySQL...ok.

XAMPP: Stopping ProFTPD...ok.
さて,これで使える…と思ったらリモートからアクセスできるのにパスワードも設定されてなかったり規定値のパスワードだったりとあれなので変更します.
( http://localhost/xampp/security.php である程度確認できます )
% sudo /opt/lampp/xampp security

[sudo] password for mk:

XAMPP:  Quick security check...

XAMPP:  Your XAMPP pages are NOT secured by a password.

XAMPP: Do you want to set a password? [yes]

XAMPP: Password:

XAMPP: Password (again):

XAMPP:  Password protection active. Please use 'xampp' as user name!

XAMPP:  MySQL is accessable via network.

XAMPP: Normaly that's not recommended. Do you want me to turn it off? [yes]

XAMPP:  Turned off.

XAMPP: Stopping MySQL...ok.

XAMPP: Starting MySQL...ok.

XAMPP:  The MySQL/phpMyAdmin user pma has no password set!!!

XAMPP: Do you want to set a password? [yes]

XAMPP: Password:

XAMPP: Password (again):

XAMPP:  Setting new MySQL pma password.

XAMPP:  Setting phpMyAdmin's pma password to the new one.

XAMPP:  MySQL has no root passwort set!!!

XAMPP: Do you want to set a password? [yes]

XAMPP:  Write the password somewhere down to make sure you won't forget it!!!

XAMPP: Password:

XAMPP: Password (again):

XAMPP:  Setting new MySQL root password.

XAMPP:  Change phpMyAdmin's authentication method.

XAMPP:  The FTP password for user 'daemon' is still set to 'xampp'.

XAMPP: Do you want to change the password? [yes]

XAMPP: Password:

XAMPP: Password (again):

XAMPP: Reload ProFTPD...ok.

XAMPP:  Done.
ftpd も使わないので止めます.
% sudo /opt/lampp/xampp stopftp

[sudo] password for mk:

XAMPP: Stopping ProFTPD...ok.
これで起動しなくなりました.xampp stop/start でも無視されるようになります.